How to import data in salesforce from excel sheet

How To Import Data In Salesforce From Excel Sheet :
1 Introduction
2 Why Data Import to Salesforce is Important
3 How To Connect Salesforce Org To Import Application
4 Steps to Import Data In Salesforce Org from Excel Sheet
5. Verify Data In Salesforce.
1 Introduction:
Importing data into Salesforce from an Excel sheet is a common requirement for organizations looking to streamline their data management processes. Whether you're migrating from another system, updating existing records, or integrating data from various sources, importing data efficiently is crucial for maintaining data accuracy and consistency within your Salesforce organization.
2 Why Data Import to Salesforce is Important
Data import to Salesforce is crucial for several reasons:
-
Data Centralization: Salesforce serves as a centralized platform for managing customer relationships, sales activities, marketing campaigns, and more. Importing data into Salesforce ensures that all relevant information about customers, leads, and opportunities is stored in one accessible location.
-
Data Accuracy: Importing data directly into Salesforce reduces the risk of errors that can occur when manually entering information. By importing data in bulk, organizations can maintain data accuracy and consistency across their Salesforce instance.
-
Efficiency: Manually inputting large volumes of data into Salesforce is time-consuming and prone to errors. Data import tools and processes allow organizations to efficiently transfer data from various sources into Salesforce, saving time and resources.
-
Analytics and Reporting: Accurate and comprehensive data in Salesforce enables organizations to generate meaningful insights through reporting and analytics. By importing data into Salesforce, organizations can analyze trends, track performance, and make informed business decisions.
-
Integration: Salesforce can be integrated with other systems and applications within an organization's tech stack. Importing data into Salesforce facilitates seamless integration with other tools, enabling data flow across different platforms and enhancing overall operational efficiency.
-
Scalability: As businesses grow and evolve, the volume of data they need to manage also increases. Data import functionality in Salesforce allows organizations to scale their operations without compromising data integrity or efficiency.
-
Compliance and Governance: Importing data into Salesforce using standardized processes ensures compliance with data governance policies and regulations. By centralizing data management in Salesforce, organizations can implement robust security measures and maintain compliance with relevant data protection laws.
In summary, data import to Salesforce is essential for centralizing data, ensuring accuracy, improving efficiency, enabling analytics, facilitating integration, supporting scalability, and maintaining compliance and governance.
3 How To Connect Salesforce Org To Import Application
- Firstly, we can create a Salesforce organization in your browser. And fill in all the required information that is required for this registration.
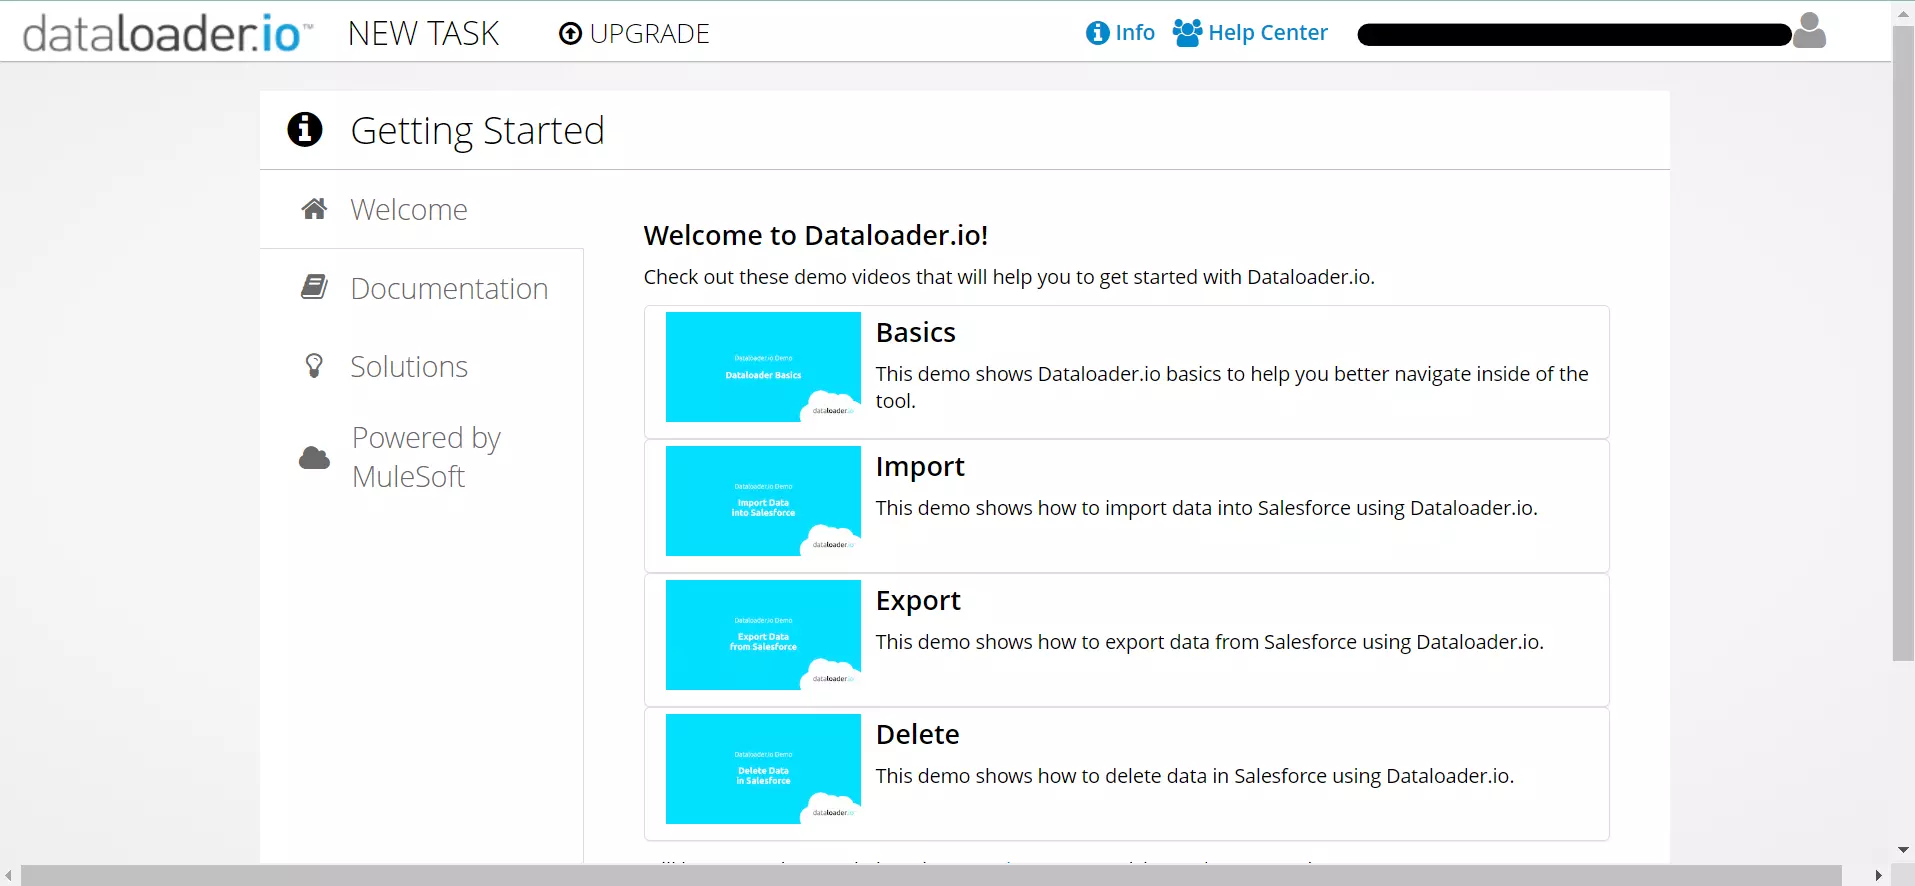
- Then click here: https://dataloader.io/. It is a data loader application used to import data into Salesforce organizations.
- Then click Login with Salesforce.
- In the environment, click your salesforce org production or sandbox. then click login.
- Then your Salesforce organization is ready to connect with a data loader application.
4 Steps to Import Data In Salesforce Org from Excel Sheet
Importing data into Salesforce through DataLoader is a straightforward process, but it requires preparation and careful mapping to ensure accuracy and success. Here's a breakdown of the steps involved:
1. Prepare your data:
- Format: Ensure your data is in a comma-separated values (CSV) file format.
- Cleanse: Double-check for duplicates, errors, and inconsistencies. Standardize formatting for all fields.
- Required fields: Identify and include all mandatory fields for the target object in Salesforce.
- Field mapping: Prepare a mapping document that matches your CSV file columns to the corresponding Salesforce fields.
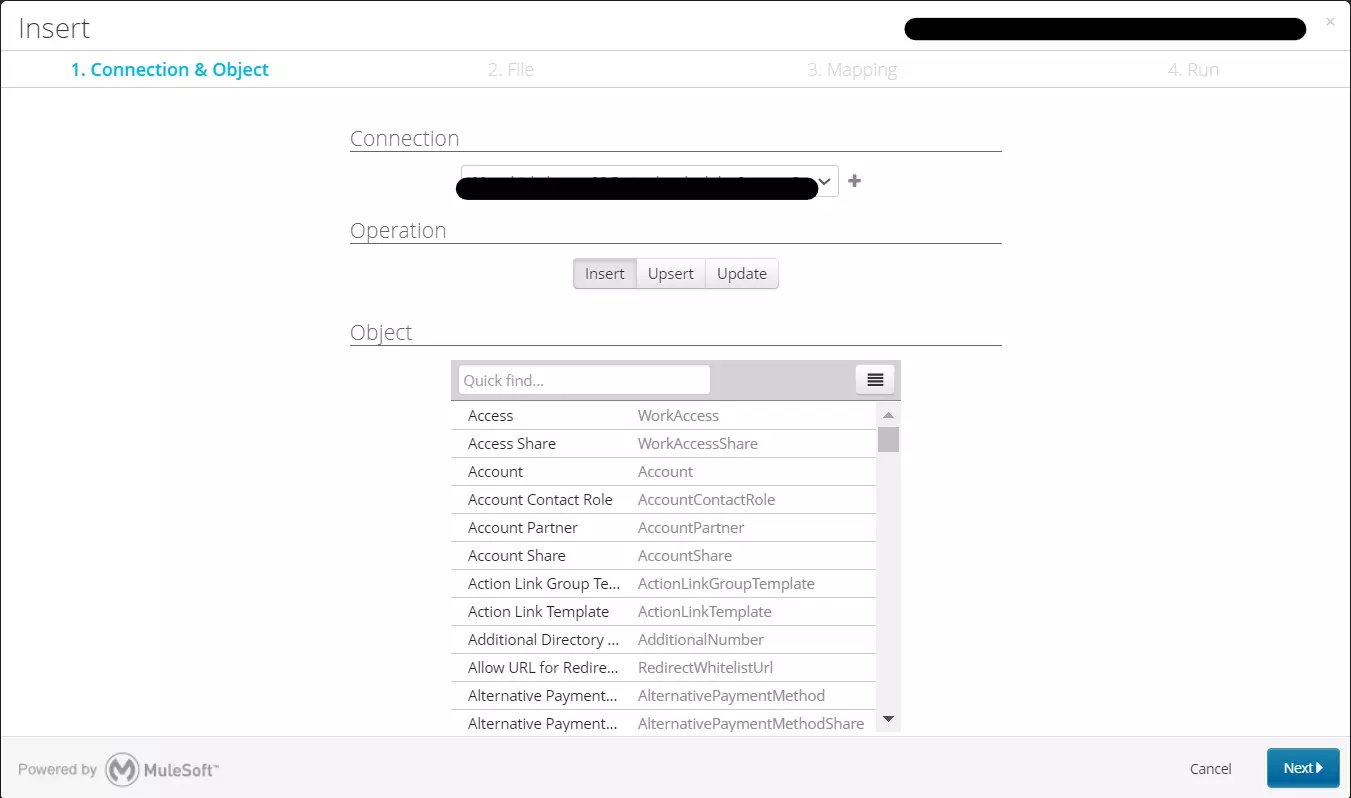
2. Choose the operation:
- Firstly, click on New Task, and then click Import.
- You can also use DataLoader for updating, deleting, or exporting data.
3. Select the target object:
- From the list, choose the Salesforce object you want to import data into (e.g., leads, contacts, accounts).
- Then click the Next button and upload your sheet to your document.
4. Map your data fields:
- Use the mapping document you prepared to match CSV file columns to Salesforce fields.
- Ensure data types align (e.g., text-to-text fields, dates-to-date fields).
- For unknown fields, choose the appropriate data type and processing options.
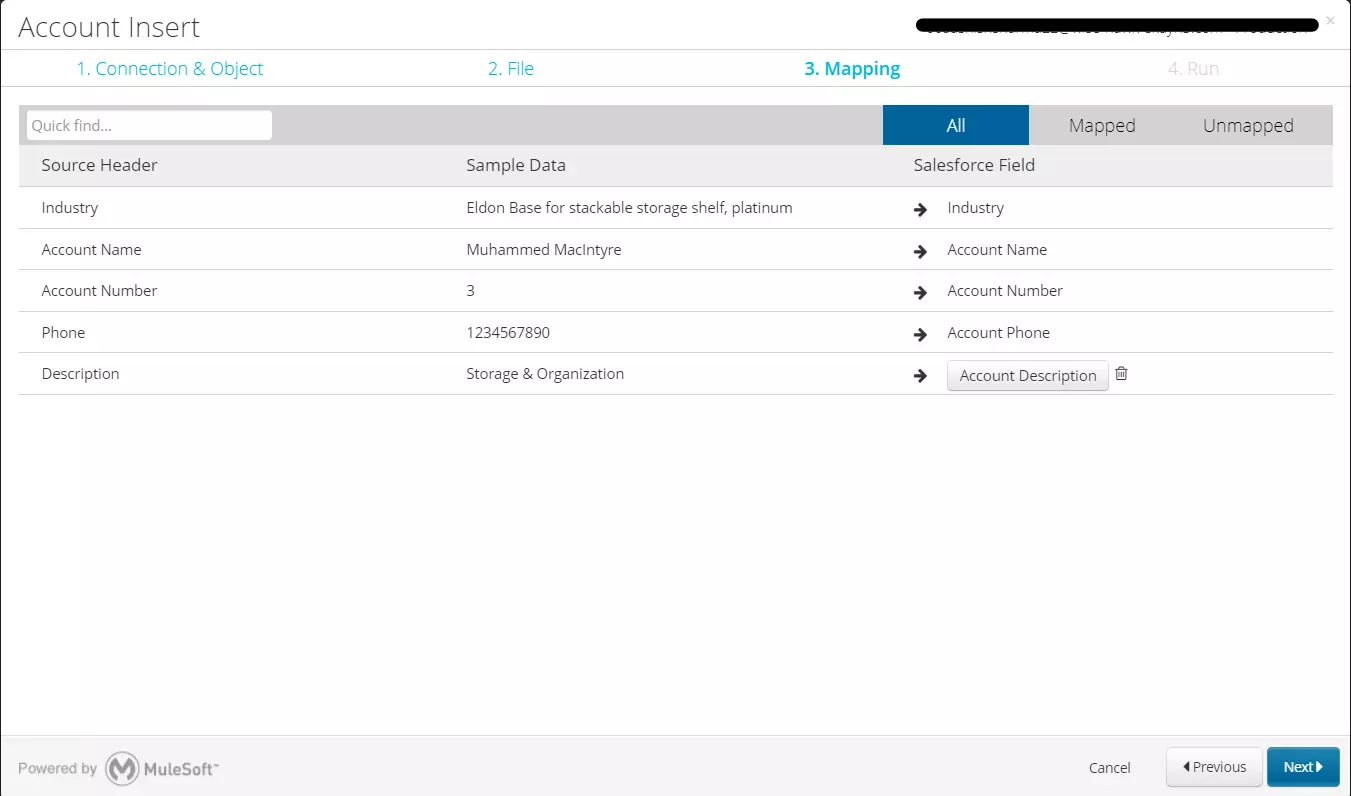
5. Test and preview:
- Perform a small test import to identify any mapping errors or formatting issues.
- Preview the mapped data to ensure it looks correct before proceeding.
- Then click next. then save and run.
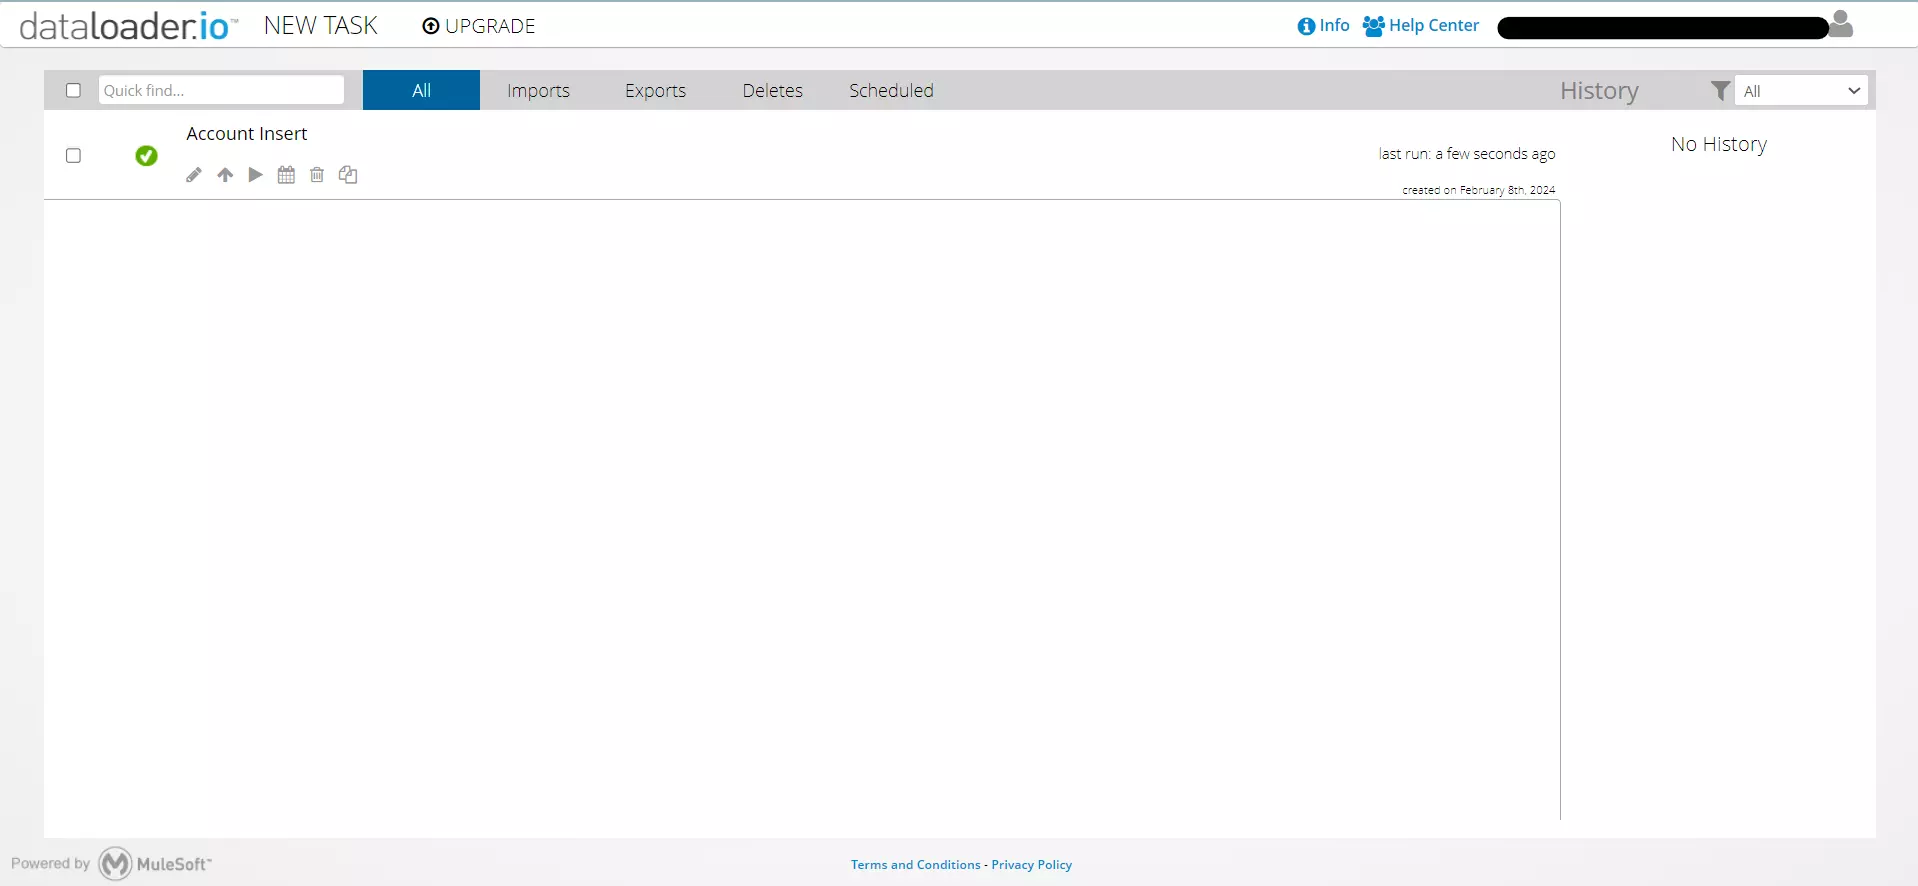
6. Start the import:
- Click Start Import to initiate the data transfer.
- Monitor the progress and review the results for any errors or warnings.
7. Address errors and review:
- If errors occur, analyze the error messages and adjust your data file or mapping accordingly.
- Review the imported data thoroughly for accuracy and completeness.
Additional Tips:
- Use bulk import tools like Data Loader for large datasets, as manual entry can be time-consuming and error-prone.
- If you're dealing with complex data or integrations, consult Salesforce documentation or seek help from an experienced administrator.
By following these steps and best practices, you can effectively introduce your data to DataLoader and leverage its power to streamline data management within your Salesforce organization.
5. Verify Data In Salesforce
- First, go to the Salesforce Organization and open the Developer Console.
- Then click on the query editor.
- Write a query: Select ID, Name From Account
- In the query After selecting, you can write your field, which maps to the Data Loader application.
- Verify are shown in this figure:
